ESP32组件管理器
🚀 ESP32 组件管理器 | 管理和扩展你的项目组件
- 💡 碎碎念😎:本节将带你了解如何使用 ESP32 组件管理器进行项目组件的管理,帮助你更高效地使用和扩展 ESP32 组件。
- 📺 视频教程:点击观看
- 💾 示例代码:ESP32-Guide/code/02.idf_basic/button_blink
- 📚 官方文档:API 指南 » 工具 » IDF 组件管理器
一、啥是组件管理器
ESP-IDF官方对组件管理器的描述是这样的:
The IDF Component Manager is a tool that allows developers to easily and reliably add components developed by Espressif and the community to the projects developed with the ESP-IDF framework and create their own components for others to use. The ESP Component Registry is a central repository for components that can be used with the ESP-IDF via the IDF Component Manager. With the IDF Component Manager, developers can easily install components from the ESP Component Registry, streamlining the process of adding new functionality to their projects.
说人话就是,世上本没有组件管理器,自定义组件多了,就有了组件库,就有了组件管理器。
如果用学过node.js,那我们可以把组件管理器比作npm包管理器,把
idf_component.yml比作package.js,真的一模一样。
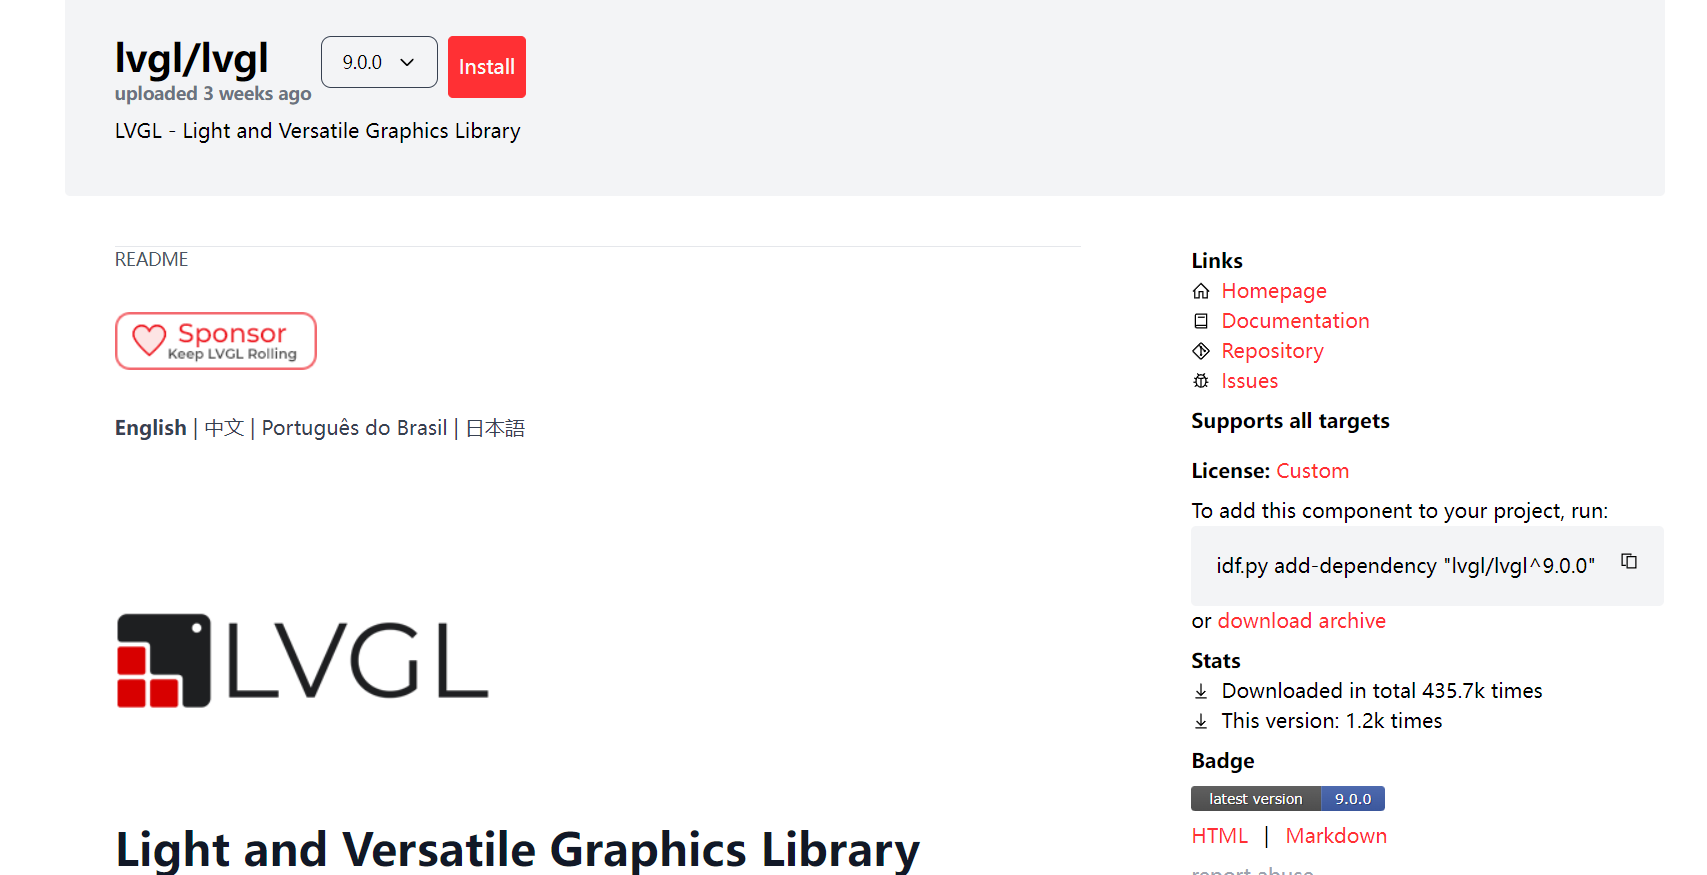
我们可以在这: ESP-IDF components 找到乐鑫或者第三方发布的一些他们帮我们写好的”自定义组件“。
使用这些组件我们可以快速的完成一些功能的实现,比如移植还有点难度的LVGL库,现在只要几行命令,加上简单的配置就能移植完成。
二、组件管理器使用示例:
下面我们基于ESP-IDF自定义组件教程中编写的blink_component工程来实现使用一下官方的组件管理器,复制工程,重命名为button_blink
2.1 组件介绍
在这部分,我们学着使用官方提供的组件,这里以button组件为例:
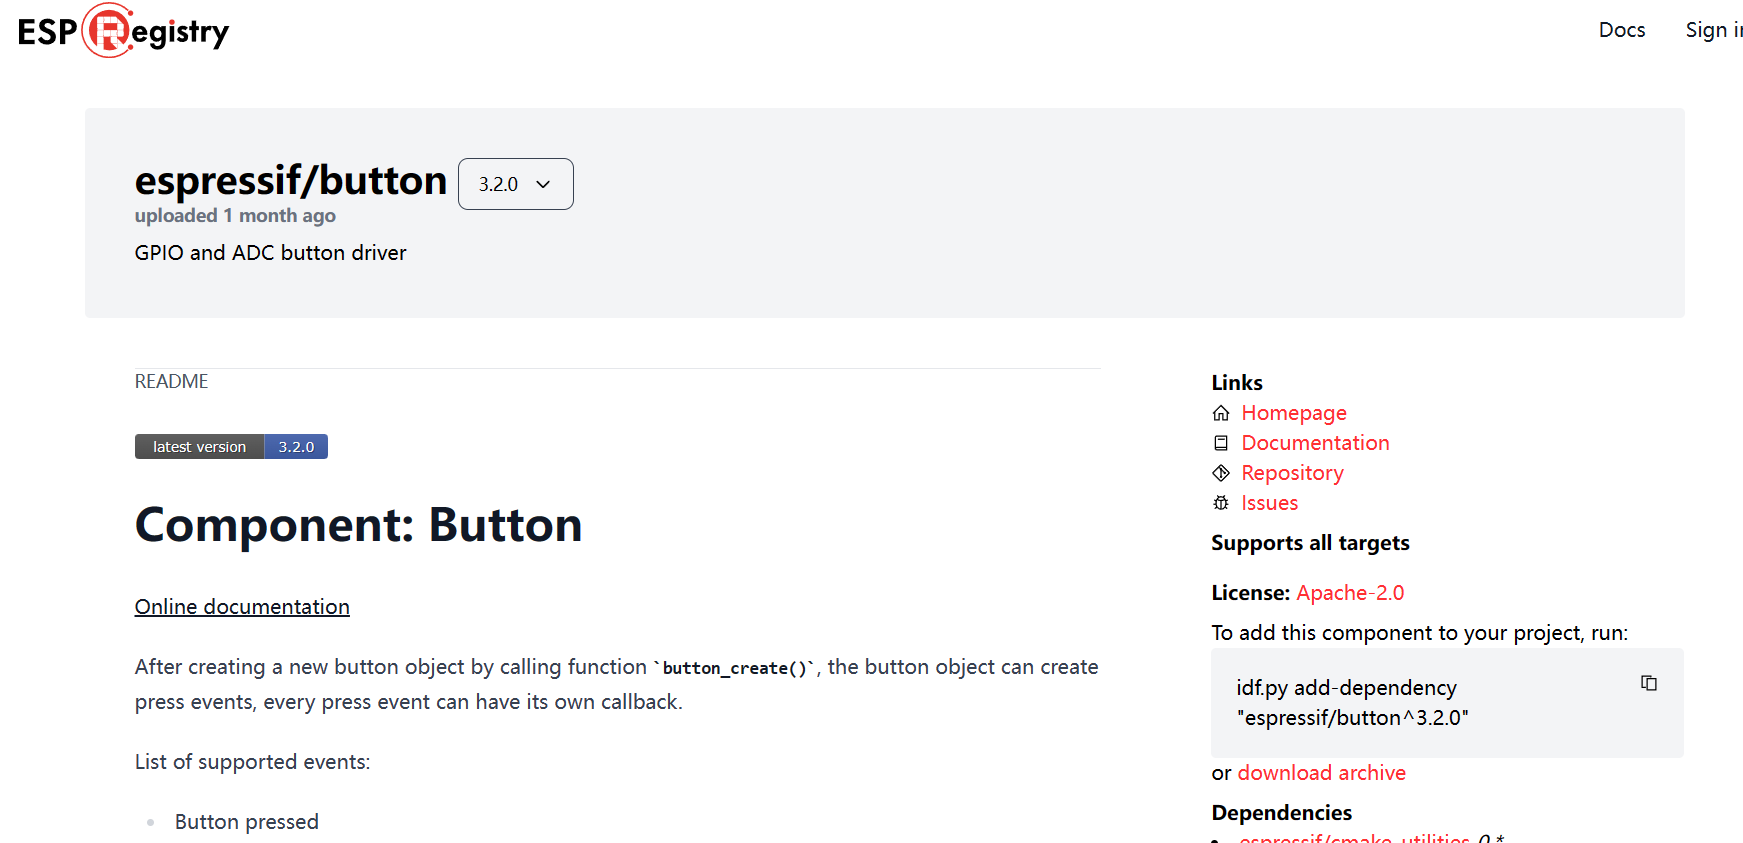
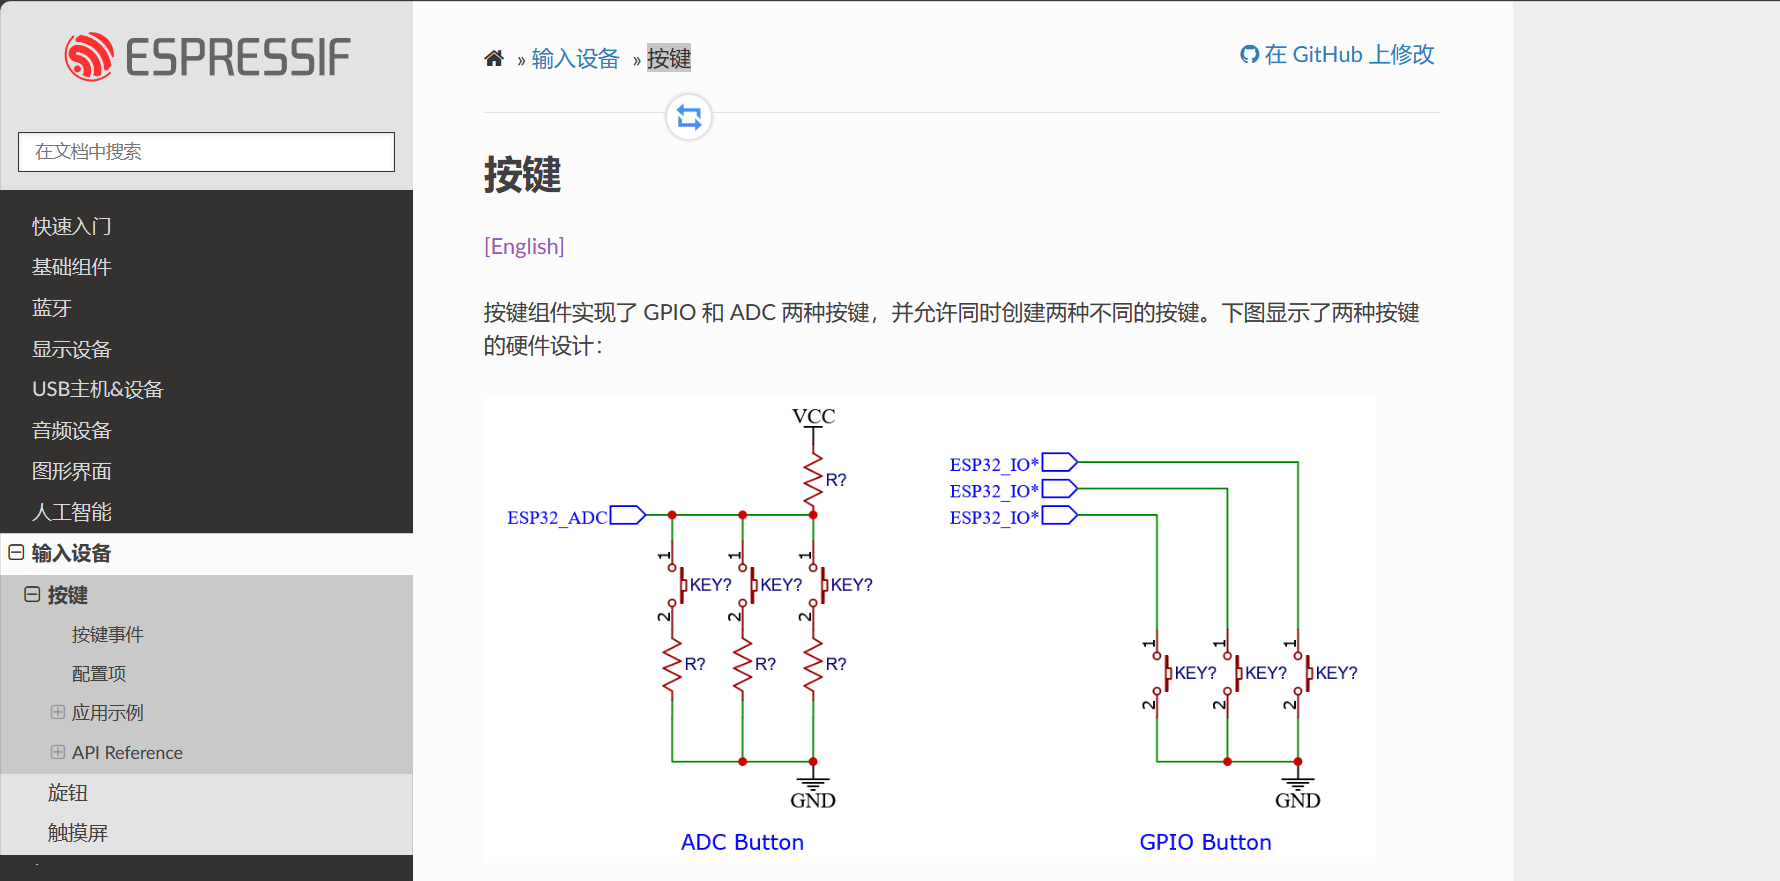
按键组件实现了 GPIO 和 ADC 两种按键,并允许同时创建两种不同的按键。并且提供多种按键事件,包括按下,弹起,按下弹起 1 次,按下弹起 2 次等。
这里是该组件的中文文档:按键组件使用
2.2 引入组件
输入命令添加依赖 idf.py add-dependency "espressif/button^3.2.0" :

添加完成:
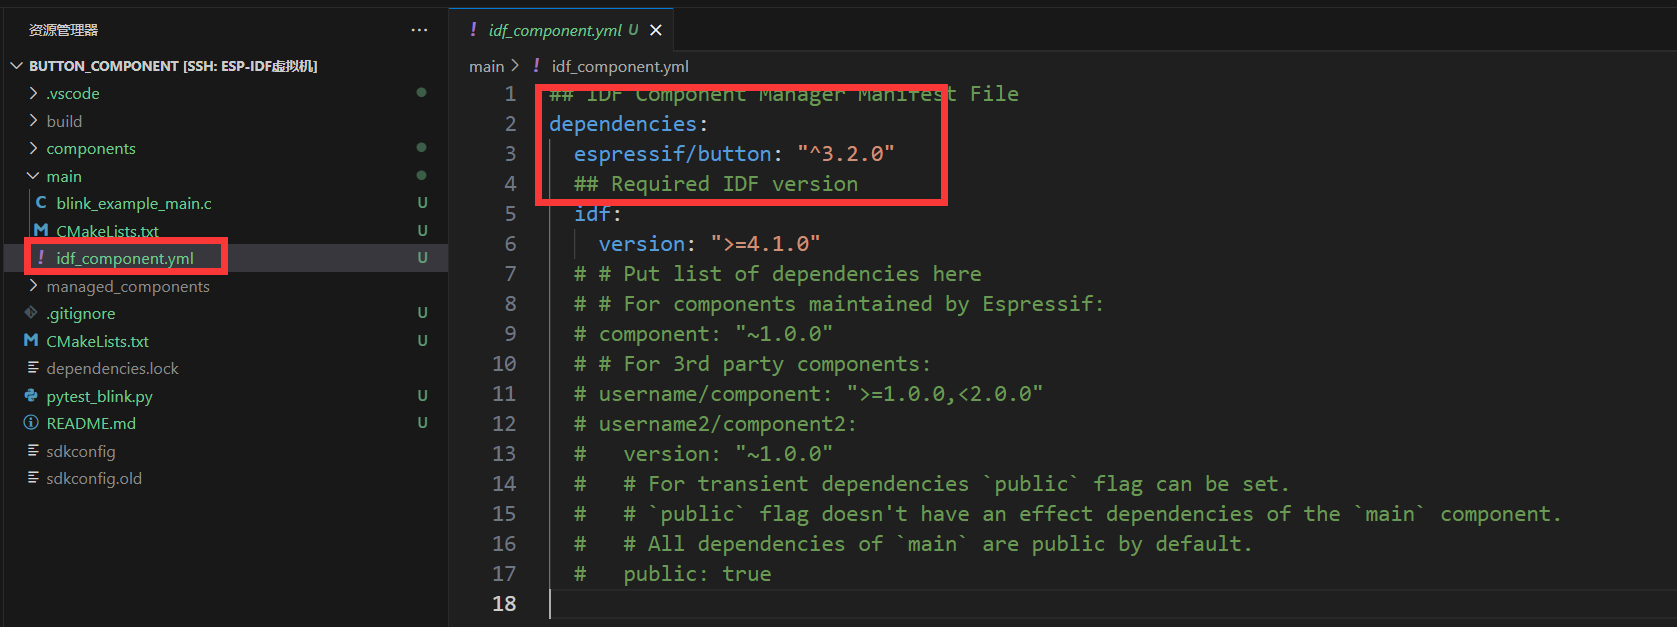
main下多出组件依赖文件,里面写上了我们依赖的组件espressif/button
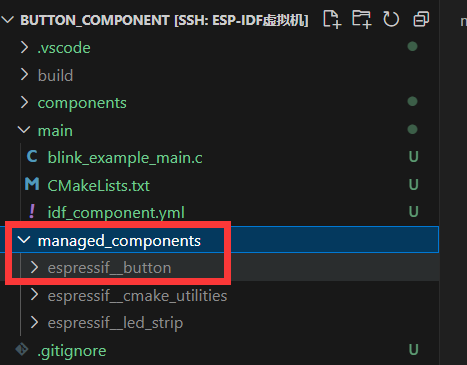
编译项目:idf.py build
idf会自动下载我们依赖的组件,存放到managed_components文件夹中,如下图:
2.3 组件的使用
组件的使用各不相同,使用时具体参考对应的组件文档即可:ESP-IoT-Solution 编程指南
下面的内容参考文档也能完成,这里不再详细描述:
创建按键
// create gpio button
button_config_t gpio_btn_cfg = {
    .type = BUTTON_TYPE_GPIO,
    .long_press_time = CONFIG_BUTTON_LONG_PRESS_TIME_MS,
    .short_press_time = CONFIG_BUTTON_SHORT_PRESS_TIME_MS,
    .gpio_button_config = {
        .gpio_num = 0,
        .active_level = 0,
    },
};
button_handle_t gpio_btn = iot_button_create(&gpio_btn_cfg);
if(NULL == gpio_btn) {
    ESP_LOGE(TAG, "Button create failed");
}详解:
button_config_t gpio_btn_cfg:定义了一个名为gpio_btn_cfg的结构体变量,用于配置按钮的参数。.type = BUTTON_TYPE_GPIO:指定按钮的类型为 GPIO 类型,表示这是一个基于 GPIO 的按钮。.long_press_ticks = CONFIG_BUTTON_LONG_PRESS_TIME_MS:设置长按触发的时间阈值,单位为毫秒。.short_press_ticks = CONFIG_BUTTON_SHORT_PRESS_TIME_MS:设置短按触发的时间阈值,单位为毫秒。.gpio_button_config:GPIO 按钮的具体配置信息。.gpio_num = 0:指定了 GPIO 编号为 0,即对应 ESP32 开发板上的某个 GPIO 引脚。.active_level = 0:指定了按钮的触发电平为低电平(0),即当 GPIO 引脚为低电平时被认为按钮被按下。
button_handle_t gpio_btn = iot_button_create(&gpio_btn_cfg):调用iot_button_create函数创建一个按钮实例,并将配置信息传递给该函数,返回一个按钮句柄gpio_btn。if(NULL == gpio_btn):检查按钮实例是否成功创建。- 如果
gpio_btn为NULL,则打印错误日志,提示按钮创建失败。
- 如果
注册回调函数
Button 组件支持为多个事件注册回调函数,每个事件都可以注册一个回调函数,当事件发生时,回调函数将会被调用。
static void button_single_click_cb(void *arg,void *usr_data)
{
    ESP_LOGI(TAG, "BUTTON_SINGLE_CLICK");
}

iot_button_register_cb(gpio_btn, BUTTON_SINGLE_CLICK, button_single_click_cb,NULL);详解:
static void button_single_click_cb(void *arg, void *usr_data):定义了一个静态的回调函数button_single_click_cb,该函数在按钮单击事件发生时被调用。函数接受两个参数,一个是arg,用于传递按钮相关的参数,另一个是usr_data,用于传递用户数据。iot_button_register_cb(gpio_btn, BUTTON_SINGLE_CLICK, button_single_click_cb, NULL):调用iot_button_register_cb函数注册了一个按钮单击事件的回调函数。gpio_btn:表示要注册回调函数的按钮实例。BUTTON_SINGLE_CLICK:指定注册的是单击事件的回调函数。button_single_click_cb:指定要注册的回调函数,即单击事件发生时调用的函数。NULL:表示没有用户数据需要传递给回调函数。
结合上一篇教程的LED闪烁的代码,最终代码如下:blink_example_main.c
#include <stdio.h>
#include "freertos/FreeRTOS.h"
#include "freertos/task.h"
#include "esp_log.h"
#include "led_blink.h"
#include "iot_button.h"


static const char *TAG = "example";
uint8_t s_led_state = 0;


// 按键回调函数(单击,led灯状态取反)
static void button_single_click_cb(void *arg,void *usr_data)
{
    ESP_LOGI(TAG, "BUTTON_SINGLE_CLICK");
    ESP_LOGI(TAG, "Turning the LED %s!", s_led_state == true ? "ON" : "OFF");
    s_led_state = !s_led_state;
    blink_led(s_led_state);
}


void app_main(void)
{
    /* Configure the peripheral according to the LED type */
    configure_led();
    // create gpio button
    button_config_t gpio_btn_cfg = {
        .type = BUTTON_TYPE_GPIO,
        .long_press_time = CONFIG_BUTTON_LONG_PRESS_TIME_MS,
        .short_press_time = CONFIG_BUTTON_SHORT_PRESS_TIME_MS,
        .gpio_button_config = {
            .gpio_num = 0,
            .active_level = 0,
        },
    };

    button_handle_t gpio_btn = iot_button_create(&gpio_btn_cfg);
    if(NULL == gpio_btn) {
        ESP_LOGE(TAG, "Button create failed");
    }

    // 注册按键回调
    iot_button_register_cb(gpio_btn, BUTTON_SINGLE_CLICK, button_single_click_cb,NULL);

    while (1) {
        vTaskDelay(CONFIG_BLINK_PERIOD / portTICK_PERIOD_MS);
    }
}实现的效果为:单击开发板上的按键,可以控制LED翻转。
以上就是ESP32组件管理器及第三方组件的使用。